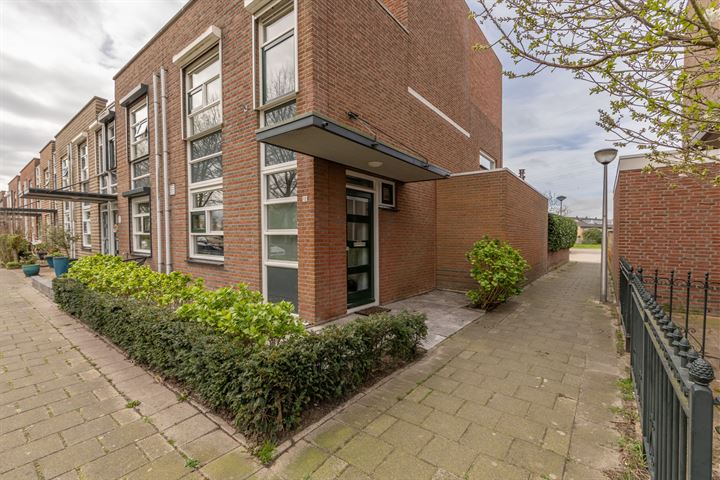
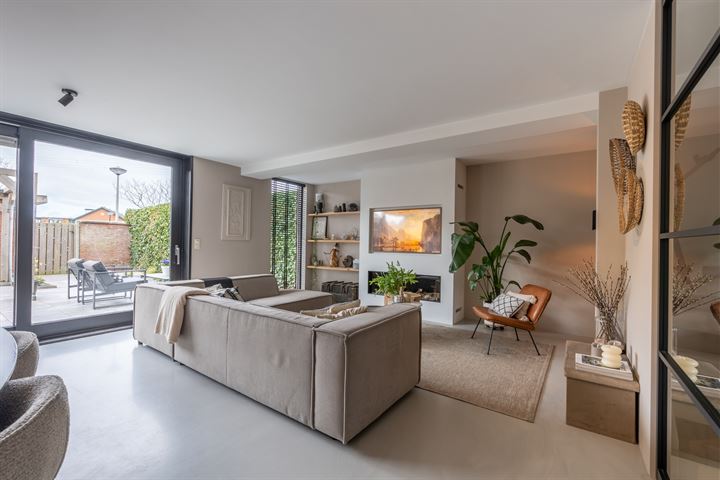
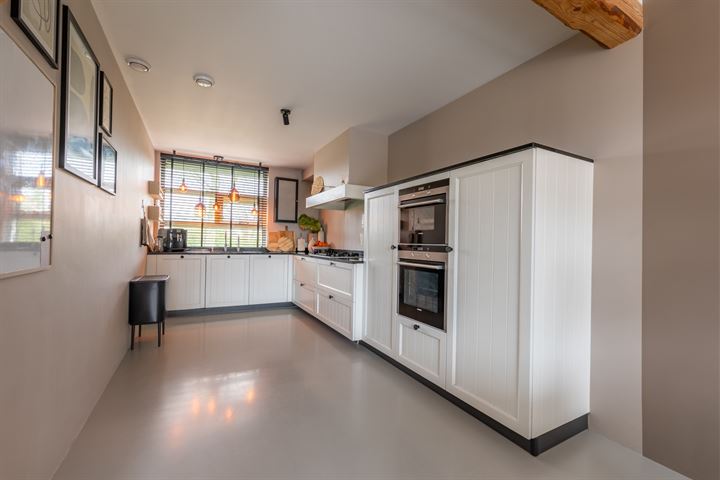
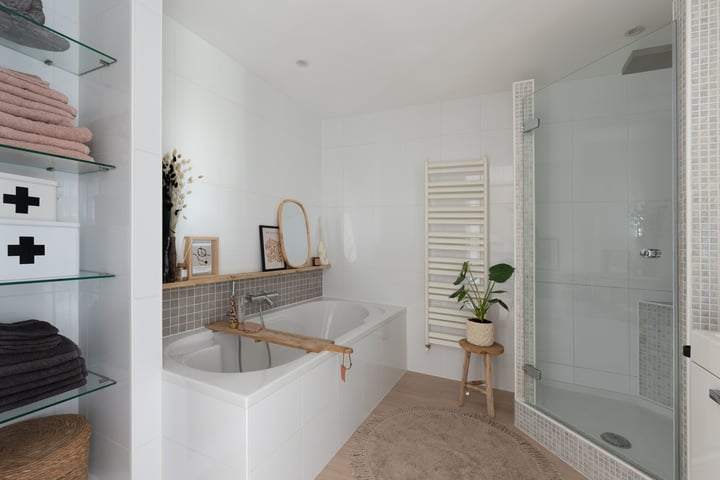
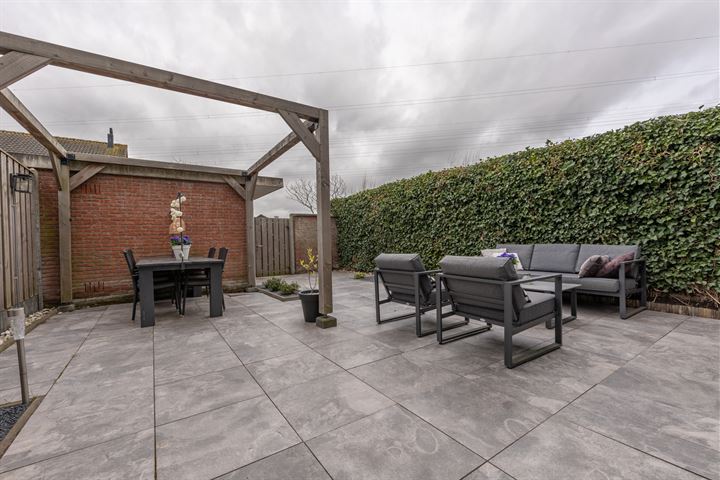
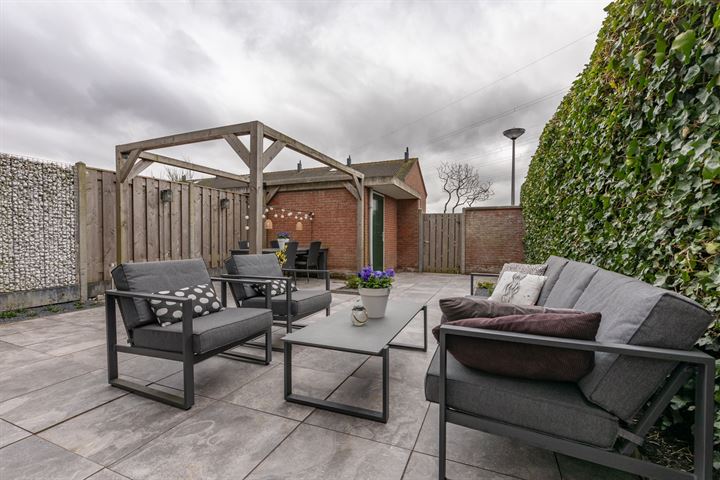
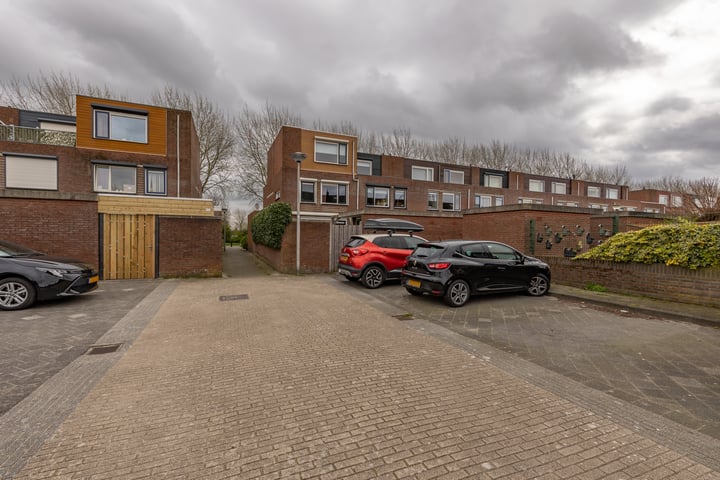
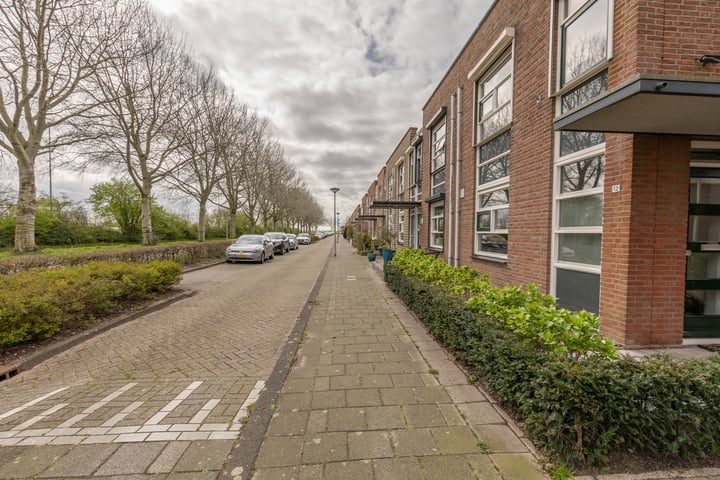
Photos 46

  • View photo 1 of Golda Meirstraat 12
  • View photo 2 of Golda Meirstraat 12
  • View photo 3 of Golda Meirstraat 12
  • View photo 4 of Golda Meirstraat 12
  • View photo 5 of Golda Meirstraat 12
  • View photo 6 of Golda Meirstraat 12
  • View photo 7 of Golda Meirstraat 12
  • View photo 8 of Golda Meirstraat 12
  • View photo 9 of Golda Meirstraat 12
  • View photo 10 of Golda Meirstraat 12
  • View photo 11 of Golda Meirstraat 12
  • View photo 12 of Golda Meirstraat 12
Advertisement
  • View photo 13 of Golda Meirstraat 12
  • View photo 14 of Golda Meirstraat 12
  • View photo 15 of Golda Meirstraat 12
  • View photo 16 of Golda Meirstraat 12
  • View photo 17 of Golda Meirstraat 12
  • View photo 18 of Golda Meirstraat 12
  • View photo 19 of Golda Meirstraat 12
  • View photo 20 of Golda Meirstraat 12
  • View photo 21 of Golda Meirstraat 12
  • View photo 22 of Golda Meirstraat 12
  • View photo 23 of Golda Meirstraat 12
  • View photo 24 of Golda Meirstraat 12
  • View photo 25 of Golda Meirstraat 12
  • View photo 26 of Golda Meirstraat 12
  • View photo 27 of Golda Meirstraat 12
  • View photo 28 of Golda Meirstraat 12
  • View photo 29 of Golda Meirstraat 12
  • View photo 30 of Golda Meirstraat 12
  • View photo 31 of Golda Meirstraat 12
  • View photo 32 of Golda Meirstraat 12
  • View photo 33 of Golda Meirstraat 12
  • View photo 34 of Golda Meirstraat 12
  • View photo 35 of Golda Meirstraat 12
  • View photo 36 of Golda Meirstraat 12
Advertisement
  • View photo 37 of Golda Meirstraat 12
  • View photo 38 of Golda Meirstraat 12
  • View photo 39 of Golda Meirstraat 12
  • View photo 40 of Golda Meirstraat 12
  • View photo 41 of Golda Meirstraat 12
  • View photo 42 of Golda Meirstraat 12
  • View photo 43 of Golda Meirstraat 12
  • View photo 44 of Golda Meirstraat 12
  • View photo 45 of Golda Meirstraat 12
  • View photo 46 of Golda Meirstraat 12